Creating a project from a private repository
Note
This feature is only available on Read the Docs for Business.
On Read the Docs for Business, projects can be connected to both private and public repositories. There are two methods you can use to create a project from a private repository:
- Automatically create a project from a connected repository
If you have a GitHub, Bitbucket, or GitLab service connected to your account, projects can be created automatically from a connected private repository. We will handle the configuration of your repository to allow cloning and pushing status updates to trigger new builds for your project.
We recommend this method for most projects.
- Manually create a project from a repository
If your Git provider is unsupported or if your Read the Docs account is not connected to your provider, you can still manually create a project against a private repository. You will have to manually configure your Git provider and repository after project creation.
Automatically create a project from a connected repository
If your Read the Docs account has a connected GitHub, Bitbucket, or GitLab account, you should be able to automatically create a project from your repository. Your account will need sufficient permissions to the repository to automatically configure it.
We recommend most users follow our directions on automatically creating projects from a connected repository.
Manually create a project from a repository
In the case that automatic project creation isn’t supported or doesn’t work for your repository, projects may be able to be manually created and configured. You can still clone the repository with SSH but you will have to manually configure the repository SSH keys and webhooks.
See also
- How to manually configure a Git repository integration
An overview of all of the steps required to manually add a project. This guide is useful for both projects using public and private repositories.
Creating a project manually
Select Add project from the main dashboard.
Select Configure manually and then Continue.
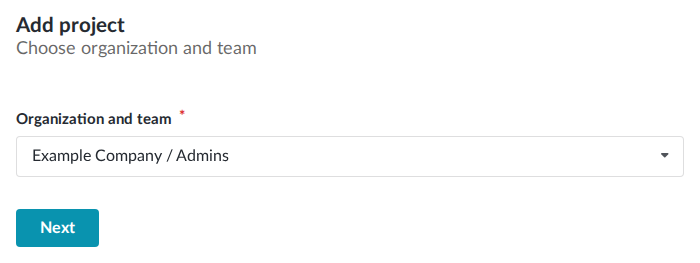
Select the organization team you’d like to create the project for. You must be on a team with
adminpermission to do this.
In the next form page you will manually configure your project’s repository details.
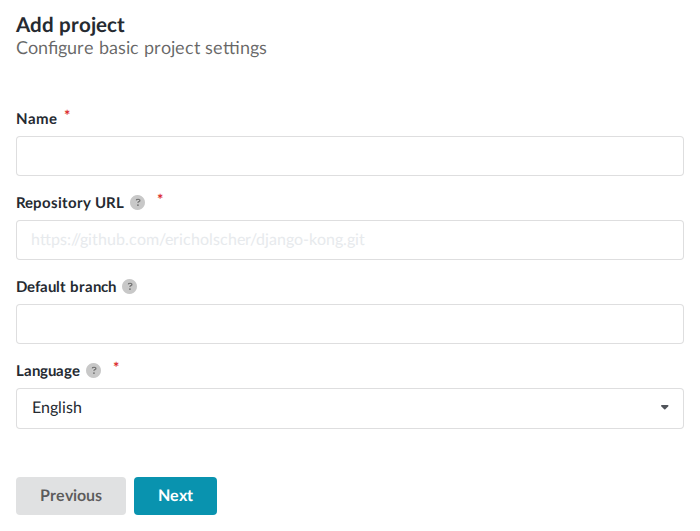
In the Repository URL field, provide the repository’s SSH or Git URL. This URL usually starts with
git@..., for examplegit@github.com:readthedocs/readthedocs.org.git.In the Default branch field, provide the name of the default remote branch. This is usually
mainormaster.The project’s first build should fail to clone your repository. This is expected, your repository is not configured to allow access yet.
Configuring your repository
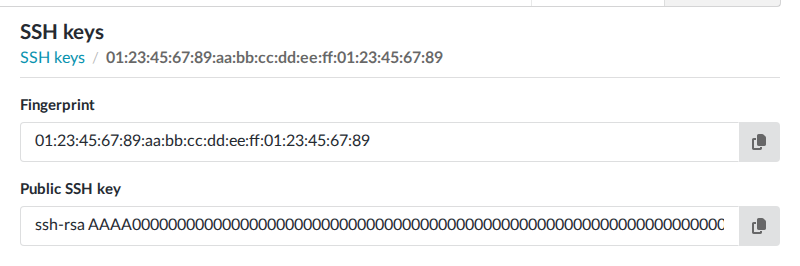
Each project is configured with an SSH key pair consisting of a public and private key. Your repository will need to be configured with the public SSH key in order to allow builds to clone your repository.
Go to the page for your project.
Click on the fingerprint of the SSH key.
Copy the text from the Public SSH key field
Next, configure your repository with this key, we’ve provided instructions for common Git providers:
For GitHub, you can use deploy keys with read only access.
Go to your project on GitHub
Click on Settings
Click on Deploy Keys
Click on Add deploy key
Put a descriptive title and paste the public key you copied above.
Click on Add key
For GitLab, you can use deploy keys with read only access.
Go to your project on GitLab
Click on Settings
Click on Repository
Expand the Deploy Keys section
Put a descriptive title and paste the public key you copied above.
Click on Add key
For Bitbucket, you can use access keys with read only access.
Go your project on Bitbucket
Click on Repository Settings
Click on Access keys
Click on Add key
Put a descriptive label and paste the public key you copied above.
Click on Add SSH key
For Azure DevOps, you can use SSH key authentication.
Go your Azure DevOps page
Click on User settings
Click on SSH public keys
Click on New key
Put a descriptive name and paste the public key you copied above.
Click on Add
If you are using a provider not listed here, you should still be able to configure your repository with your project’s SSH key. Refer to your provider’s documentation for managing SSH keys on private repositories.
Configuring repository webhooks
Your repository will also need to be configured to push updates via webhooks to Read the Docs on repository events. Webhook updates are used to automatically trigger new builds for your project and syncronize your repository’s branches and tags.
This step is the same for public repositories, follow the directions for manually configuring a Git repository integration.