Setting up outgoing webhooks
When a project build is triggered, successful or failed, Read the Docs can notify external APIs using outgoing webhooks. These webhooks contain information about the build and build status and can allow an external service to use this information for alerting, monitoring, and many other custom configurations.
See also
- How to setup email notifications
Setup basic email notifications for build failures.
- Pull request previews
Configure automated feedback and documentation site previews for your pull requests.
Note
Builds for pull requests do not trigger outgoing webhooks.
Creating a new webhook
To create a new outgoing webhook for your project:
Go to in your project.
Click Add webhook.
Fill in the URL field with the target URL for your endpoint.
Select the which events will trigger the webhook.
Modify the JSON payload field or leave the default (see below for more).
Click on Add webhook
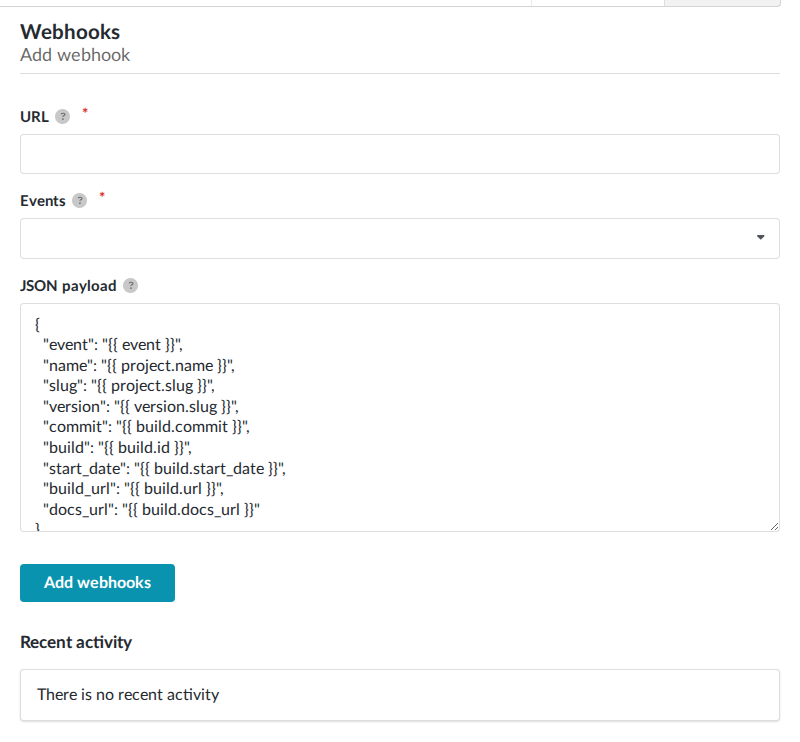
Form for creating a new webhook
Every time one of the selected events trigger, Read the Docs will send a POST request to your webhook target URL. The default payload will look like this:
{
    "event": "build:triggered",
    "name": "docs",
    "slug": "docs",
    "version": "latest",
    "commit": "2552bb609ca46865dc36401dee0b1865a0aee52d",
    "build": "15173336",
    "start_date": "2021-11-03T16:23:14",
    "build_url": "https://app.readthedocs.org/projects/docs/builds/15173336/",
    "docs_url": "https://docs.readthedocs.io/en/latest/"
}
When a webhook is sent, a new entry will be added to the Recent activity list. You can click on each entry to see the webhook request, response, and the request payload.
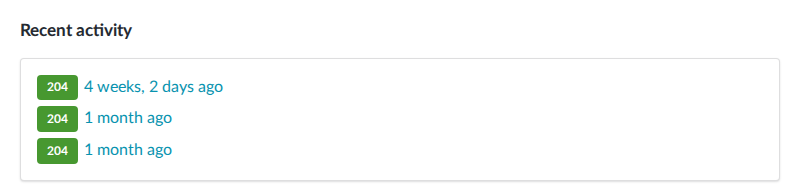
Recent activity of a webhook
Custom payloads
You can customize the payload of the webhook to fit the expected structure of your target endpoint. The payload structure must be valid JSON but can contain any of our payload variable substitutions.
Variable substitutions
The following variable strings can be used in a custom payload to substitute information about the build and project in the webhook body.
{{ event }}Event that triggered the webhook, one of
build:triggered,build:failed, orbuild:passed.{{ build.id }}Build ID.
{{ build.commit }}Commit corresponding to the build, if present (otherwise
"").{{ build.url }}URL of the build, for example
https://app.readthedocs.org/projects/docs/builds/15173336/.{{ build.docs_url }}URL of the documentation corresponding to the build, for example
https://docs.readthedocs.io/en/latest/.{{ build.start_date }}Start date of the build (UTC, ISO format), for example
2021-11-03T16:23:14.{{ organization.name }}Organization name (Commercial only).
{{ organization.slug }}Organization slug (Commercial only).
{{ project.slug }}Project slug.
{{ project.name }}Project name.
{{ project.url }}URL of the project dashboard.
{{ version.slug }}Version slug.
{{ version.name }}Version name.
Examples
{
  "attachments": [
    {
      "color": "#db3238",
      "blocks": [
        {
          "type": "section",
          "text": {
            "type": "mrkdwn",
            "text": "*Read the Docs build failed*"
          }
        },
        {
          "type": "section",
          "fields": [
            {
              "type": "mrkdwn",
              "text": "*Project*: <{{ project.url }}|{{ project.name }}>"
            },
            {
              "type": "mrkdwn",
              "text": "*Version*: {{ version.name }} ({{ build.commit }})"
            },
            {
              "type": "mrkdwn",
              "text": "*Build*: <{{ build.url }}|{{ build.id }}>"
            }
          ]
        }
      ]
    }
  ]
}
{
  "username": "Read the Docs",
  "content": "Read the Docs build failed",
  "embeds": [
    {
      "title": "Build logs",
      "url": "{{ build.url }}",
      "color": 15258703,
      "fields": [
        {
          "name": "*Project*",
          "value": "{{ project.url }}",
          "inline": true
        },
        {
          "name": "*Version*",
          "value": "{{ version.name }} ({{ build.commit }})",
          "inline": true
        },
        {
          "name": "*Build*",
          "value": "{{ build.url }}"
        }
      ]
    }
  ]
}
See also
Verifying the payload
After you add a new webhook, Read the Docs will generate a secret key for it
and use the key to generate a hash signature (HMAC-SHA256) for each payload.
This signature is included in the X-Hub-Signature header of each request.

Webhook secret
We highly recommend using this signature to verify that the webhook is coming from Read the Docs. To do so, you can add some custom code on your server, like this:
import hashlib
import hmac
import os


def verify_signature(payload, request_headers):
    """
    Verify that the signature of payload is the same as the one coming from request_headers.
    """
    digest = hmac.new(
        key=os.environ["WEBHOOK_SECRET"].encode(),
        msg=payload.encode(),
        digestmod=hashlib.sha256,
    )
    expected_signature = digest.hexdigest()

    return hmac.compare_digest(
        request_headers["X-Hub-Signature"].encode(),
        expected_signature.encode(),
    )
Legacy webhooks
Webhooks created before the custom payloads functionality was added to Read the Docs send a payload with the following structure:
{
    "name": "Read the Docs",
    "slug": "rtd",
    "build": {
        "id": 6321373,
        "commit": "e8dd17a3f1627dd206d721e4be08ae6766fda40",
        "state": "finished",
        "success": false,
        "date": "2017-02-15 20:35:54"
    }
}
To migrate to the new webhooks and keep a similar structure, you can use this as the webhook custom payload:
{
    "name": "{{ project.name }}",
    "slug": "{{ project.slug }}",
    "build": {
        "id": "{{ build.id }}",
        "commit": "{{ build.commit }}",
        "state": "{{ event }}",
        "date": "{{ build.start_date }}"
    }
}
Troubleshooting webhooks and payload discovery
You can use public tools to discover, inspect, and test outgoing webhooks. These tools act as catch-all endpoints for HTTP requests and respond with a 200 OK HTTP status code. You can use these payloads to develop your webhook services. You should exercise caution when using these tools as you might be sending sensitive data to external tools.
These public tools include:
- Beeceptor
Create a temporary HTTPS endpoint and inspect incoming payloads. It lets you respond custom response code or messages from named HTTP mock server.
- Webhook Tester
Inspect and debug incoming payloads. It lets you inspect all incoming requests to it’s URL/bucket.